


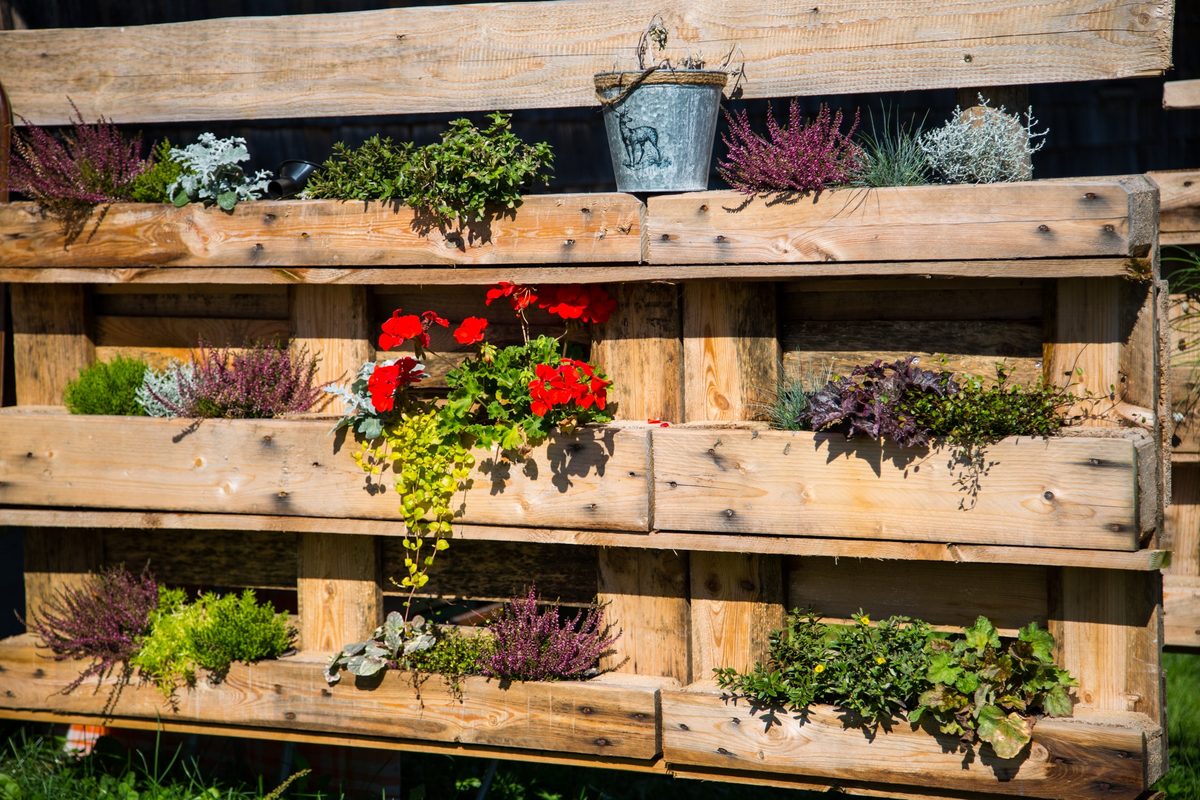
The idea of buying more mass-produced plastic bathtubs from big boxes seems outdated. Very expensive. Single use only. Frankly, it looks just like other people’s balconies.
Don’t buy ordinary flower pots. Start building!
It’s not just about saving a few dollars. It’s about giving the mess a second life. When you see an old wooden box or a battered metal barrel, you see potential. You are looking for a planter that fits your style. You create something unique without contributing to landfill.
Learn how to make beautiful and functional garden containers from recycled materials.
Why Rescued Plantation wins
“Reusing materials reduces waste and creates a unique interior that cannot be replicated with store-bought products.”
There are practical reasons for choosing the DIY route. Commercially available ceramic pots are heavy and break easily. The plastic breaks down during the season under the influence of sunlight. Recycled materials often have better properties and durability.
Think aesthetics. A simple tree. worn metal. translucent glass. These textures add depth to small urban gardens or large backyards. You control the result. It controls drainage. Control your expenses.
Material selection: what to clean
Luxury buildings do not have to go to the demolition yard. Check your garage, store pick-up day, or local recycler.
- Wooden boxes: Wine boxes, Shipping boxes or furniture parts. Light and easy to change.
- Metal bucket: An old paint can, a galvanized washing bucket or a sink. It creates a cool industrial atmosphere.
- Glass containers: Large jars, carafes or old fashioned bottles. Perfect for herbs and seedlings.
- Shoes: Old boots or high heels. Strange, but effective for small succulents.
- Furniture parts: Drawer fronts, steps or chair seats.
Basic tools and safety equipment
It’s not just about gluing things together. These sites must be repaired to maintain soil and drainage.
Tools:
– Use a drill bit to drill holes in stone or wood
– Screwdriver set
– Sandpaper (medium-fine sandpaper)
– brush or roller
– Sealant or waterproof lining (if needed)
Security:
– Gloves: Leather or thick cotton gloves to protect against debris and sharp edges.
– Eye protection: essential when drilling or grinding.
– Mask: Avoid breathing old wood and paint dust.
Step 1: Preparation and cleaning
Dirty pots can cause diseases. Clean everything thoroughly.
Scrub the wood with soap and water. Allow to dry completely. This prevents mold and rot.
If it is metal, remove the rust with sandpaper or a wire brush. When spraying paint, keep the surface clean for better adhesion.
Use a glass of vinegar and water to remove any glue residue from the label.
“Always make sure reused containers are completely dry before adding soil to prevent microbial growth.”
Step 2: Create a drainage system
This is not negotiable. The plants are immersed in standing water. Plants die quickly due to root rot.
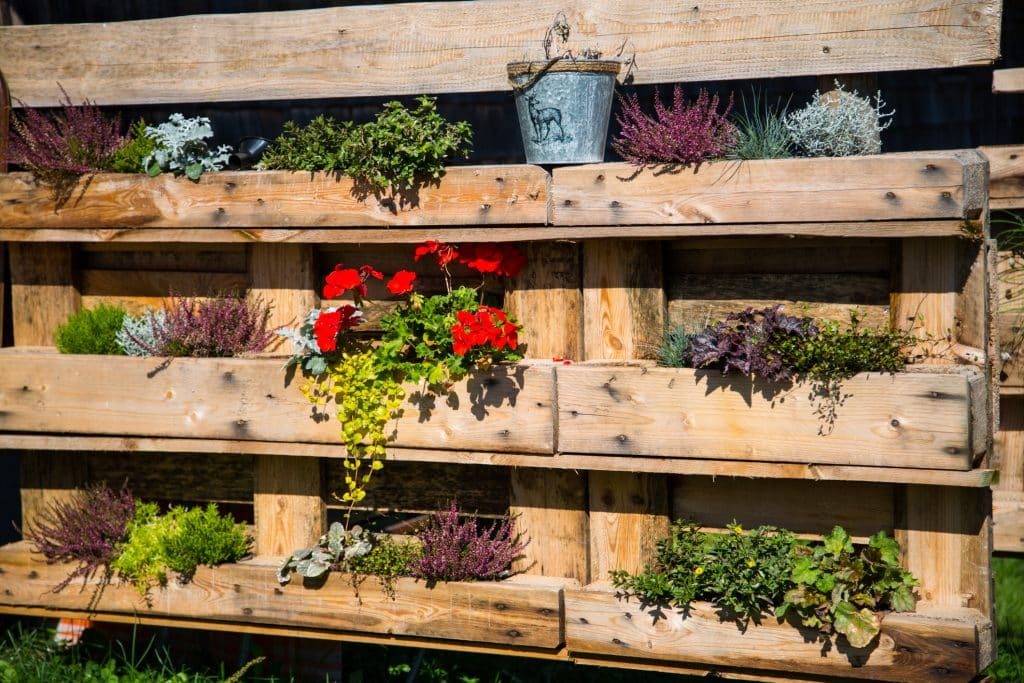

DIY isn’t just about saving money. The purpose is to create something that fits your space the way you want. Do this using materials you already have or found on the side of the road. It’s very messy. Very creative. It’s better for the planet.
Avoid commercially available plastic bins. We’re building
Make durable planters from scrap wood
Wooden pallets are everywhere. They’re sturdy. They’re cheap. Or free. But not all are created equal. If you are a beginner, start with the basics.
How to safely assemble a pallet planter
Not all wood is safe for food gardens. You need to check the stamp.
Search for HT. This means heat treatment. This means steaming the wood to kill pests. No nasty chemicals. Avoid anything labeled MB (methyl bromide). It is poisonous. Do not use on herbs or vegetables.
When you have a safe wood, preparation is key.
– Sand it down. Rough edges can cause splinters. Sanding makes the surface smoother and safer to work with.
– Seal or stain. Use environmentally friendly exterior stain. Wood rots quickly when it comes into contact with moist soil. This adds an extra layer of protection.
–Assemble tight. ** Cut the slats to the appropriate size. Use screws, not just nails. The screws hold up better of the wet soil. Add corner blocks for added strength.
– Line the inside. ** When wood meets dirt, equals rot. The inside is lined with durable landscape fabric or plastic. Leave space in the bottom for drainage holes.
– ** Drainage is non-negotiable. Poke holes in the bottom of the lining. The water has to go somewhere. If water accumulates, the drowns roots.
– Finish it off. ** Paint, stencil or leave it raw. Customize it to match the aesthetics of your garden.
Use household clutter for garden containers
Pallets are perfect for large projects. But even small objects can be useful. Look around the garage. Look at the recycling bin.
Simple Ideas for Odd-Shaped Containers
- Wine Crates: Perfect for storing herbs. Stack them vertically to create a living wall. They’re small enough to place on your balcony.
- Used Tires: Paint them with bright colors. Cut in half to lower profile. They’re durable and hold heat well, making it suitable for plants in warmer climates.
- Old Bathtubs/Sinks: This is a big project. Drainage holes must be drilled in metal or ceramic. These make stunning focal point for large flowers and small shrubs.
- Antique furniture: A dresser with missing drawers? Fill the voids with dirt and petunias. It maintains a rustic industrial look.
- Metal Drums/Buckets: Drill holes in the bottom. It looks very industrial. they last forever. Be careful not to expose it to direct sunlight as it will heat up and burn the roots.
Optimize your DIY planter for success
Building the box is only half the battle. The other side keeps the plants alive.
Manage drainage and soil
If you don’t drain the water, the plants will die. It’s that simple.
Use metal or plastic junk to drill. For trees, add a layer of gravel to the bottom before the soil. This creates air pockets.
Choose your potting mix carefully. A universal mix suitable for most flowers. When growing food, use fertile soil with compost. Do not use garden soil in containers. It hardens and causes poor drainage.
Soil health and crop rotation
Even in a box, the soil can become depleted of nutrients.
- **Rotate crops. ** If you grow vegetables, be sure to move them and renew the soil every season. This prevents the accumulation of diseases.
- Adjust the tank according to the climate. The wood looks good, but deteriorates in damp areas. Metal lasts longer, but the roots can overheat. Although plastic is light, it can crack in freezing temperatures.
Why this method works
There is something satisfying about growing food and flowers from discarded items. It’s not just about saving. This brings responsibility.
Keep materials out of landfills. Reduces the need for new plastic pots. You create something unique for your home.
This process is not perfect. You lose the screw. This results in uneven polishing. But the results are yours. This is functional art.
The next time you find a broken chair or tree, don’t throw it away. Look at it differently.
What else can I build?


