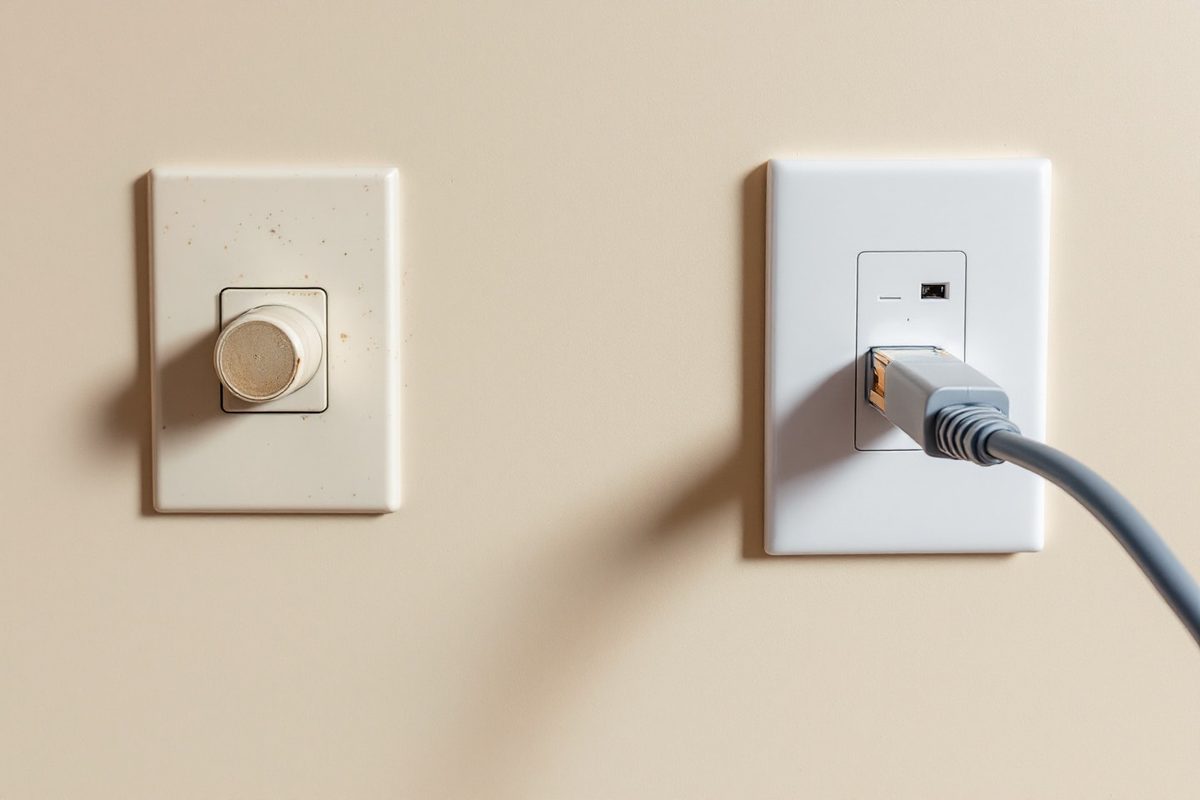
If you’ve ever stared at a beige T-shaped wall outlet that keeps rattling, you know the frustration. This is a holdover from the days of rotary phones and still plagues many households. But in the world of streaming and remote work, this outdated hardware can limit high-speed broadband and ruin your evening. You don’t need to hire an electrician to replace this antique with a modern, efficient network socket. It’s easier than you think. Learn to say goodbye to T-connectors and enjoy a stable connection without professional effort or expensive tools.
Why abandon T-plugs and use RJ45 network socket?
While every home is unique, T-sockets often reveal an aging communications infrastructure. The requirements for speed and stability have never been higher. Between constant internet access, 4K streaming, video conferencing and smart home devices, the old ways just don’t cut it anymore.
The Limits of the T-Socket: Obsolete and Restrictive
The T-socket, also known as “Russian doll” plugs, are obsolete. It’s great for landlines, but doesn’t work well with modern devices. It is sensitive and intended only for the voice transmission. This severely limits the quality and speed of your ADSL internet connection. Many ISPs actually ask you to remove this.
As the whole of France is moving towards digital networks, these connectors are no longer compatible with fiber optic installations. Unable to meet current technology needs.
Advantages of RJ45 network connectors: speed and reliability
Changing the T-socket to a regular RJ45 wall socket changes everything. RJ45 cables support higher data transfer speeds. It is more resistant to interference than old telephone lines. This allows you to connect a computer, TV decoder or Internet box without compromising on performance.
The result is smoother video calls, lag-free gaming and uninterrupted TV series on multiple screens. No more tangled wires! No more lost connections.
Essential Tools for a stress-free exchange
This job does not require a professional garage or a big budget. With a little organization and the right materials, it can be completed in about 30 minutes.
The Essential Gear List
- Flat-head screwdriver : You need to remove the old T-socket and secure the new one.
- Wire strippers : Strips the insulation without damaging the internal copper wires.
- RJ45 wall socket : Choose a suitable socket for home use.
- RJ45 Ethernet Cable : Make sure the length matches your installation needs.
Cable Tester (optional but recommended) : This handy device instantly checks connections and takes the guesswork out of it.
You also need a tape measure and screws. All these products are in standard stock in hardware stores, even in rural areas.
Select the correct RJ45 connection
When talking about electrical aisle, remember opt for a shielded RJ45 socket. Aim for at least Category 5e. If you want to ensure your home’s bandwidth needs in the future, category 6 is a better choice.
Look for models with automatic connections (no screws) for ease of use or screw-type model for added durability. Most homes only require a single-face socket. Double or triple faces can be used, but are generally not necessary for basic setups.
Remove the T-socket safely
Before you start playing electrician, follow the golden rule: Safety first. Replacing an outlet is not a complicated task, but one wrong move can trip the main breaker or cause an electric shock.
Securing the Workspace
Turn off the power first. Turn off the main circuit breaker or isolate the specific circuit that controls the room. This only takes a few minutes and can prevent serious problems.
Wear insulated gloves if you have them. Keep a flashlight nearby in case the room goes dark when you start digging into the wall.
Removing the T-Socket Step-by-Step
With the power off, carefully unscrew the cover plate. Look for two or three wires inside. Usually blue, white, gray or orange, but the colors vary from house to house.
Press or release the wire clip depending on the socket model. Don’t force anything. A flat-head screwdriver acts as a lever and release the clips gently. Leave enough wire length to easily plug into the new outlet.
Discard the old T-socket. It has served its purpose and earned its retirement.
Updating your home network often starts with a simple change. This means replacing the aging phone jack with a modern Ethernet port. It may sound technical, but replacing a socket with an RJ45 is very easy. Consider that if you stick to the basics, you can upgrade your digital infrastructure with little effort.
RJ45 connector wiring
The actual work is done inside the walls. First, strip about 2 cm of the outer insulation of the Ethernet cable. Next, carefully remove about 5 mm of the plastic coating from each wire. Be gentle with the copper wire as it is fragile.
Most RJ45 panels have a color-coded diagram printed directly on them or tucked behind the cover. This is your map. Arrange the twisted pairs according to this diagram (white on white, orange on orange, etc.). The goal is to match the T568A or T568B standard at every port in the home.
Slide each wire firmly into its slot. If your board uses a punch tool mechanism, press down until you hear a click. If you use screw terminals, tighten them with a small flat screwdriver. The connection must be secure. Loose wires prevent you from accessing the Internet.
If you have an RJ45 tester, now is the time to use it. Check for continuity on all 8 pins. If you don’t know how to interpret the lights, take a photo before disconnecting the old telephone wiring. Please use this as a reference in case of future confusion.
Installation and connection testing
Once the wires are in place, put the panel back in place and secure it to the wall box with screws. The hardware is ready.
Do you want to turn it back on? Not exactly. Although this is low voltage data rather than mains power, restore the network link. Connect the Ethernet cable from the wall socket to the computer, smart TV or router.
Look at the screen. You should see a stable wired connection immediately. There should be a link light on the network port of your device. If the connection fails, the problem is usually one wire not making full contact. Re-open the plate, check for stubborn strand, and try again.
Why this update is important
Replacing a regular phone jack with an Ethernet port is one of the most rewarding DIY projects for homeowners. No electrician required. No special permit required. All you need is patience and a screwdriver.
This small change provides more than just an Internet connection. Stabilize your network. Wired connections have much lower dropouts than Wi-Fi, especially in older homes with thick walls or interference from neighboring networks. Video calls are clearer. Transfer large files faster. Your smart devices will stay connected.
Turn your dormant infrastructure into the active center of your digital life. This can be tackled as a solo project or a weekend task with your family. You feel a palpable sense of satisfaction when you stripping a cable, plug it in, and watch the network light turn green. This is a real upgrade to your home’s nervous system.
The result is a home that feels more responsive, modern and better prepared for the future.