End of January 2026. The cold winter weather has arrived and you want a warm bath. However, your mixer tap starts dripping water or, worse, breaks completely. For many homeowners, changing a bathroom faucet can feel like navigating a minefield. You are terrified of cracking a pipe hidden in the wall or flood the bathroom floor.
The truth is, it’s not hard. This has nothing to do with brute force. It’s all about preparation.
Failure to prepare can lead to disaster. If done right, it’s a simple technical job. Let’s take a look at the removal steps. We specialize in how to safely remove old fixture without damaging the pipes behind the wall.
Turn off the water source first
This is obvious. But most bathroom disasters start because someone forgets this step.
Before getting a wrench, find the main water shut-off valve. If your bathroom has a separate shut-off valve, use it. Close it tightly.
Once the water is shut off, the pressure in the line must be released. Open the mixer tap you are using. Keep running the water until it stops running. If possible, turn on the faucet lower down in the house to ensure that any remaining water drains out of the system.
This step is non-negotiable. This ensures that you are working with dry pipes. Do not spray water on the tiles. No more accidental leaks when you start loosening the nuts. Keep the work neat and calm.
Collect the right tools
Don’t improvise. It is not a good idea to use a mis-adjusted adjustable wrench or slip-joint pliers. These tools often slip. They round off the corners of the nuts. It can scratch the chrome surface. Once the nut is rounded, removing it can be a nightmare.
You need precision.
- Spanner: Find the right size. In standard European mixer taps this is usually 30mm or 32mm. If the installation is sure, you can also use a high-quality zero clearance adjustment key.
- Frightening Oil (dissolving spray): This is your secret weapon. Prevents calcium build-up and rust over the years. Without this, you’re wrestling with the metal instead of loosening it.
Important step: How to break a seal without force
The invisible enemy in any bathroom is limescale. Hard water deposits act as glue and bind the nuts to the threaded fittings. If you just crank down hard on the wrench, you risk bending the flexible supply lines or worse, bend the pipes embedded in the wall. This turns a simple faucet change into a major plaster repair job.
This is a safe way.
**1. Apply a generous amount of penetrating oil. **
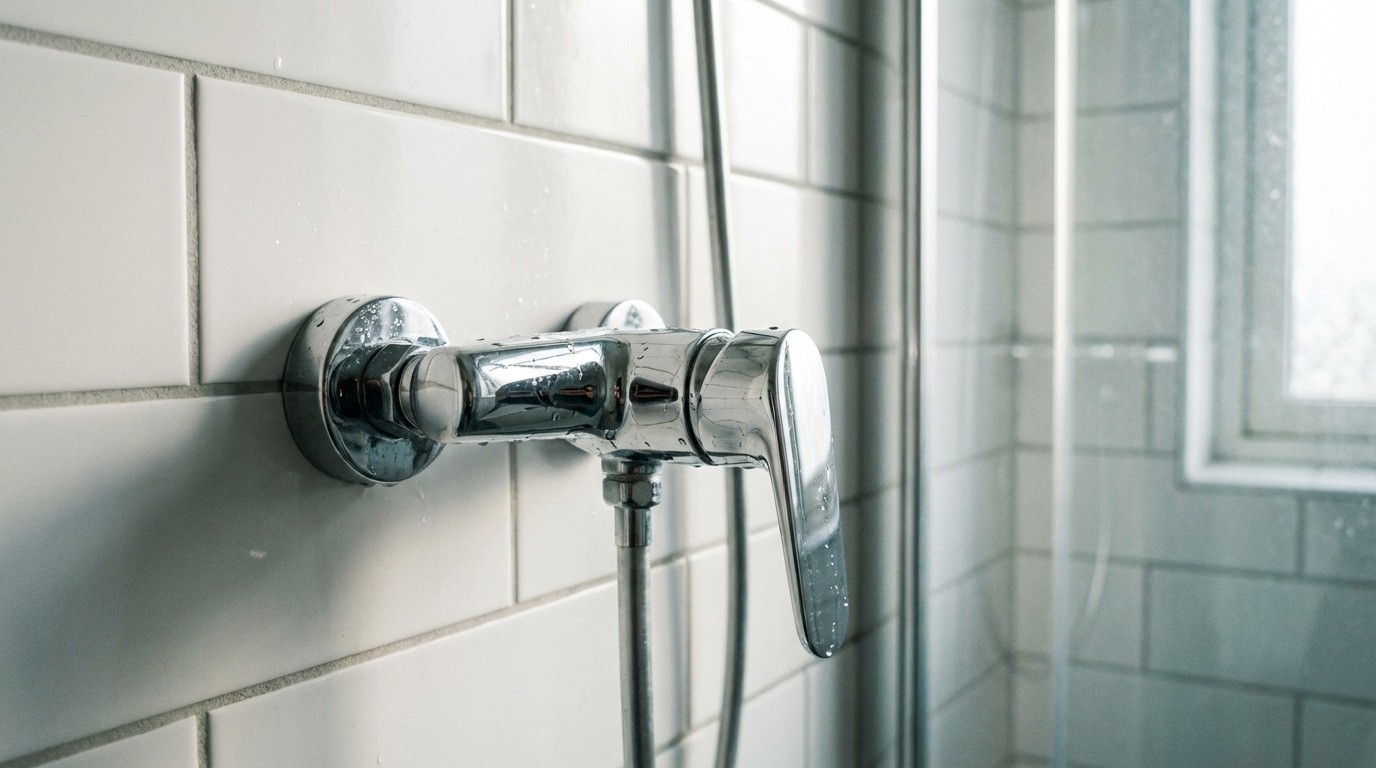
Connection point for connecting the shower faucet to the socket (offset connection). Do this before turning the wrench. Let soak for at least 10 minutes. If your installation is older, let it sit longer. Liquid penetrates the threads by capillary action. It softens rust and dissolves mineral deposits. This is chemical loosening, not physical force.
**2. Turn the key carefully. **
When you’re ready, position the wrench flat against the nut. Maximum contact required. Rotate counterclockwise. Use firm, even pressure.
What if the nut doesn’t move? Stop. Do not pull the key too hard. If you pull too hard, the accessory may be damaged.
Instead, tap the handle of the wrench lightly with a hammer. The vibration helps break up limescale bonds. Keep trying slow and steady turns. Feel the nut loosen gradually. The goal is to release the mixer tap while keeping the wall mount completely in place.
This approach protects your investment. It saves your walls. One step closer to a hot shower.
But removing the old faucet is only half the battle. Reinstallation requires consideration of various factors, especially in terms of sealing and alignment. Part 2 will show you how to put the new one in without making the same mistakes.
The old mixer is gone. It is probably sitting on your shower tray or sink waiting to be recycled or donated. But it’s not over yet. The success of the new installation depends on how the wall joints are left. No matter how expensive a new faucet is, sloppy preparation is a one-way ticket to future leaks.
Check the wall brackets for damage
Once the fixture is off, you can see the S-connector (eccentric nut) protruding from the wall. This is your chance to do a detailed visual inspection. If you have previously used penetrating oil and a suitable wrench, these joints should be intact. Check for cracks. Check for warping. Most importantly, check the threads. They need to be clean and undamaged.
If the accessory wobbles or spins freely on the wall, it indicates a more serious problem. Internal anchors can be damaged and require extensive repair. Fortunately, this rarely happens if you continue to remove carefully. If it moves though, stop it. Do not force the new tap on. Fix the anchor first.
Wipe the seat clean
New hardware must be cleaned before it touches the walls. Old rubber or fiber gaskets often leave a dry residue. This debris sticks to the surface of the seat, the flat area that the new gasket needs to seal.
Get a small, soft wire brush or a fine emery cloth. Scrub the threads and mounting surface. Remove all old material. There are no irregularities. No grit. Clinical level cleanliness is required here. Why? Because new fiber or rubber gaskets require a perfect surface to adhere to. All defects affect tightness. A clean fit ensures waterproof performance for years instead of weeks.
A winning trio with unparalleled success
Doing it right builds confidence. Skip the plumber and save money. The secret is not brute force. Follow the instructions and use the appropriate products.
1. Turn off the water. Not negotiable. Safety first.
2. Use appropriate tools. A standard flat wrench to prevents stripping the nuts. Don’t guess.
**3. Use penetrating oil. ** Let chemistry do the mechanical work. It loosens everything up.
By combining these three, the risk of breakage or leakage is close to zero.
Careful disassembly ensures a durable installation
Taking apart a fixture, you’re half the battle. Careful removal protects existing pipes and provides a good base for new equipment. If you rush this step, you force the new tap on later. Use of force may cause cracks. Cracks can cause leaks.
By taking the time to properly prepare, you can the new mixer sits flush and keep it watertight. This is a sign of respect for the materials and structure of the house.
Mastering this change will help you understand your home’s plumbing. After installing a shiny new faucet in your bathroom, you may feel ready for a bigger project. Does a hydrotherapy shower column help with the cold of winter? The skills learned here are easy to apply. Start small. Make it a habit.