


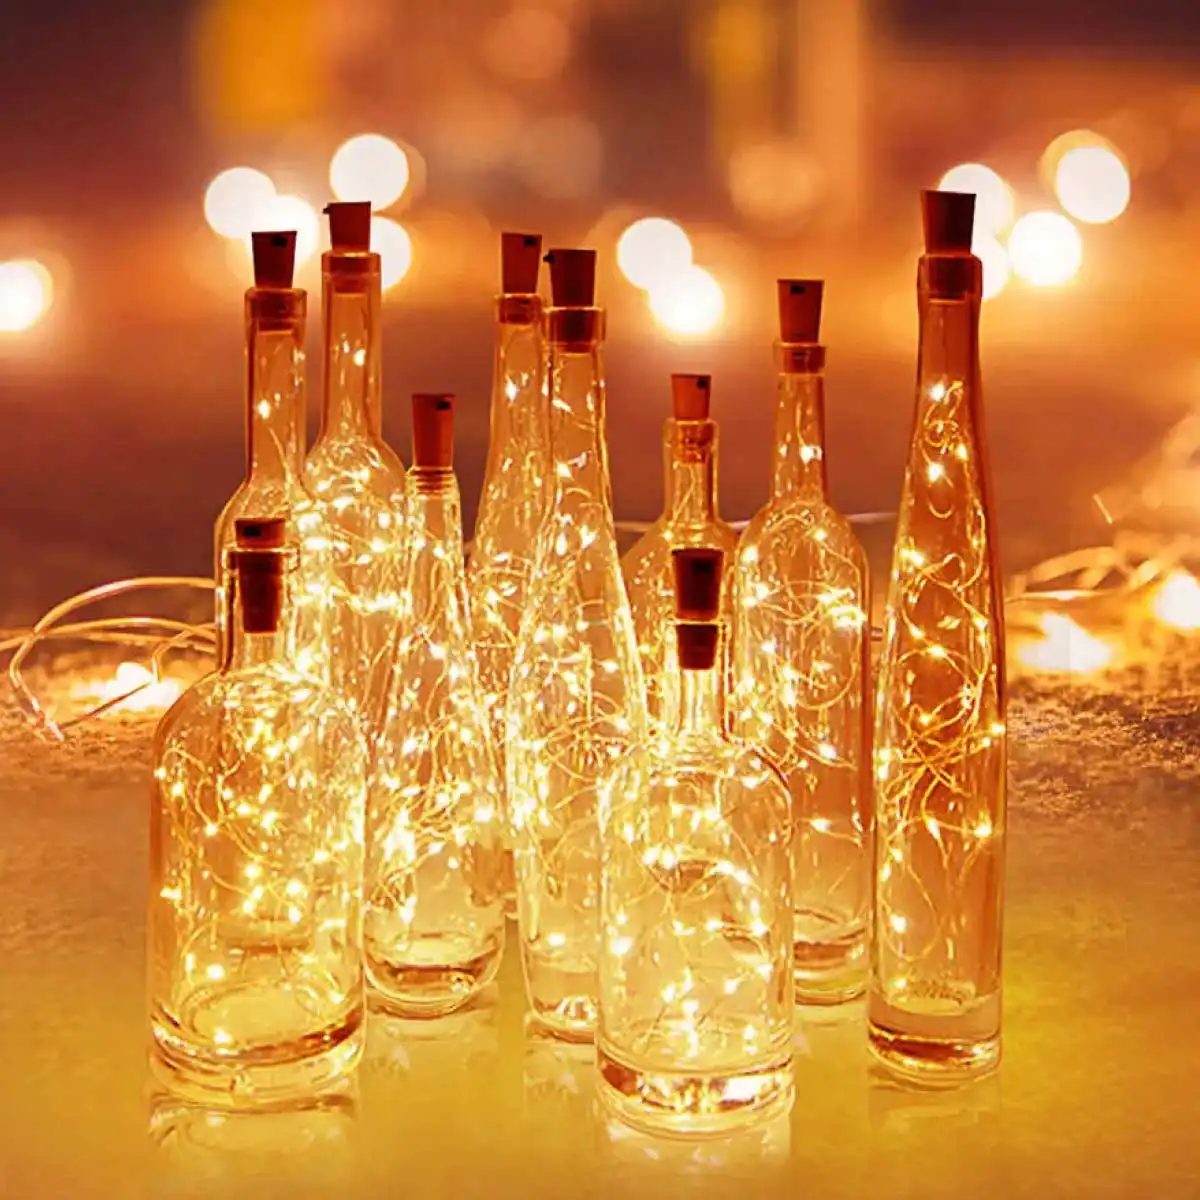
Glass isn’t just for wine or pickles. It’s a canvas. You take a discarded jar, maybe a clean wine bottle, and suddenly you have a custom light fixture for zero cost. That’s the allure. It’s not just about saving money. It’s about character.
Most homes look the same. Generic fixtures from big-box stores don’t tell a story. But a mason jar pendant? A cluster of repurposed olive oil bottles? Those whisper something. They say you made this. You shaped the light.
Why Upcycle Glass for Lighting?
It’s practical. It’s aesthetic. And it’s surprisingly easy if you know how to handle the glass without losing a finger.
You’re not just throwing lights in jars. You’re creating ambiance. Warmth. Depth. A rustic shabby-chic vibe needs textured glass. A modern minimalist space might prefer sleek, clear bottles with Edison bulbs. Bohemian styles? Get wild. Mix colors. Add tassels. The goal is atmosphere.
Essential Tools and Safety First
Before you start cutting or drilling, let’s talk safety. Glass shards are nasty. They don’t announce their presence until they’re in your skin.
You will need:
- Safety gear: Gloves are non-negotiable. Safety glasses too. Do not skip these.
- Cutting tool: A glass cutter wheel or a diamond-tipped drill bit.
- Drill press (optional but helpful): For clean, straight holes. Hand drilling is possible but requires steady hands.
- Sandpaper: Fine grit to smooth rough edges.
- Wire strippers: For prepping your electrical cords.
- Lighting kit: Socket, cord, plug, and bulb. Buy a kit designed for pendant lights or table lamps.
Step 1: Prep Your Vessel
Start with clean bottles or jars. Remove labels. Scrub off glue. Adhesive residue ruins the look and interferes with drilling.
If you’re using a bottle, decide where the light will sit. Bottom-up? Side-mounted? Most DIYers prefer the bottom-up approach for pendants. It looks cleaner. The bulb sits inside the base, glowing through the glass.
For jars, it’s simpler. The opening is already there. You just need to drill a hole in the lid or side for the cord.
Step 2: Cutting the Glass
This is where most people hesitate. And rightly so. Cutting glass is risky.
If you’re cutting a bottle:
- Mark your cut line. Use a marker or chalk. Wrap string around the bottle at the mark, soak it in alcohol, and light it. The thermal shock creates a clean fracture. It’s old-school. It works.
- Cool the bottle quickly. Then tap the crack gently to separate the top from the bottom.
- Smooth the edge. Use sandpaper or a diamond file. Run your finger along it. If it catches, it’s not smooth enough. Keep going until it’s glass-smooth.
If you’re drilling a jar:
- Tape over the drill spot. This prevents slipping.
- Use a diamond-tipped bit. Keep it wet while drilling. Heat cracks glass. Water cools it.
- Drill

Atık görünen o eski reçel kavanozlarını veya biriken şarap şişelerini çöpe atmadan önce bir saniye düşünün. Bu parçalar, elinizdeki en uygun materyaller. Doğal ve geri dönüştürülebilir malzemelere olan ilgi patlama yaşarken, cam şişe ve kavanozlarla aydınlatma yapma konsepti hem bütçe dostu hem de estetik açıdan yüksek değerli bir çözüm sunuyor. Sıradan nesneler, doğru bir dokunuşla mekanınıza bohem bir hava, organik bir sıcaklık katıyor.
Neden herkes bu trendi takip ediyor? Basit. Az emek, yüksek etki. Biraz el becerisi, uygun ışık kaynakları ve yaratıcılık yeterli. Şeffaf kavanozlar, renkli camlar, eski alkollü içki şişeleri… Seçenekler neredeyse sınırsız. Amaç sadece ışık tutmak değil. Mekanınızı kişisel imzanızla şekillendirmek.
Gerekli Malzemeler ve Araçlar
Proje başlamadan önce masaya konulacak malzemeleri belirlemek, sahadaki kargaşayı önler. Yanlış araç seçimi, kırık camlarla sonuçlanır. İşte işe koyulmadan önce kontrol etmeniz gereken liste:
- Cam şişe ve kavanozlar: Temiz ve kuru olmalı. Etiketleri önceden çıkarmak için ılık su ve yağ bazlı deterjan kullanabilirsiniz.
- Işık kaynağı: LED şeritler, pileli dize ışıklar veya pil ile çalışan LED mumlar en güvenli seçeneklerdir. Telfon prizli ampuller kullanacaksanız, kablo yalıtımına ekstra dikkat edin.
- Kesim gereçleri (Eğer şişe kesmeyi planlıyorsanız): Cam kesici alet, cam çizme rulosu, ince kuru zımpara kağıdı, sıcak ve soğuk su (termal şok yöntemi için).
- Montaj malzemeleri: Halat, metal halkalar, metal tel, yapıştırıcı (cam için uygun olan) veya vidalı bağlantı elemanları.
- Güvenlik ekipmanları: İş eldiveni, koruyucu gözlük. Cam kesme işlemi risklidir.
“Doğru malzeme seçimi, projenin hem güvenlik hem de estetik açısından başarısını doğrudan etkiler.”
Şişe Kesme Teknikleri
Şişeleri keserek daha esnek bir yapıya sahip olmak istiyorsanız, dikkatli olun. Cam kırıldığında yaralanma riski yüksektir.
- İşaretleme: Şişeyi istediğiniz yüksekliğe kadar işaretleyin.
- Kesme: Cam kesici aleti kullanarak işareti hafifçe çizgin. Birkaç kez geçirin.
- Termal Şok: İşaretlenen kısmı sıcak suyla ısıtın, hemen ardından buzlu suya
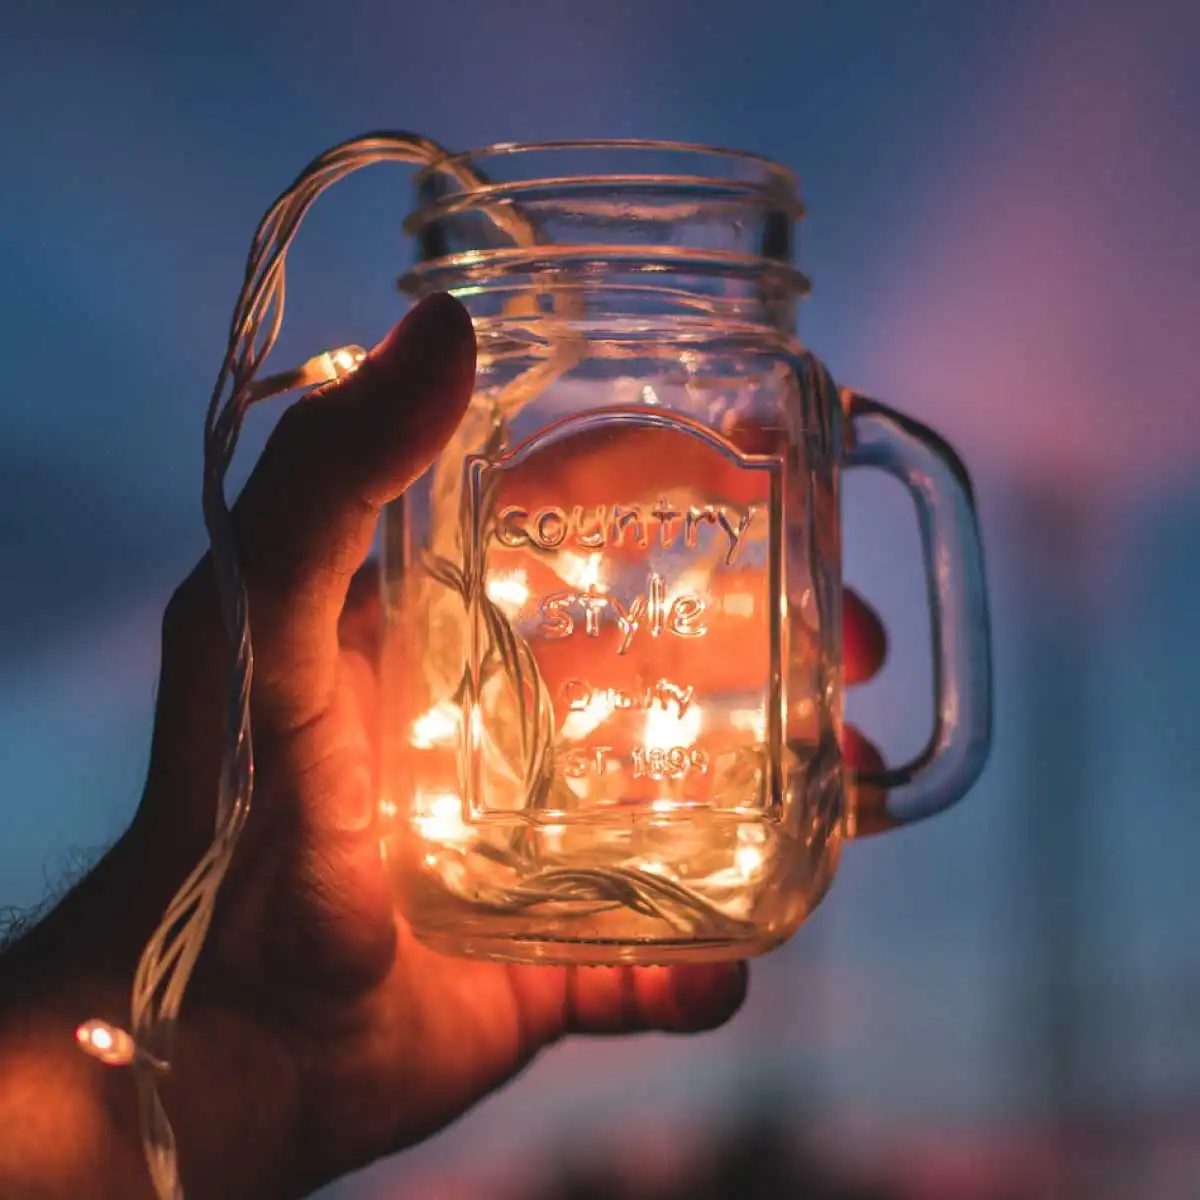
Projeye başlamadan önce sehpanın üzerinde duran şeylerin tam listesini çıkarmak mantıklı. Yoksa yarım yamalak bir işle boğuşup pes edersiniz. İhtiyacınız olanlar basit ama spesifik. Her şeyi aynı anda toplamak zorunda değilsiniz ama eksik parça projeyi boğar.
Malzeme ve Araç Seçimi
Cam şişe ve kavanoz konusunda kısıtlama yok. Eskiden kalan şarap şişeleri en iyi adaydır. Renkli camlar ışığı farklı yansıtı. Büyük kavanozlar ise daha dramatik efektler verir. Amacınız ne? Sadece ambiyans mı, yoksa okuma ışığı mı? Stilinizle uyumlu olanı seçin.
Işık kaynağı seçimi kritik. LED şeritler esnektir. Dize ışıkları daha nostaljik bir hava katar. Pil ile çalışan LED’ler ise kablo derdi çıkarmaz. Mum kullanıyorsanız güvenlik her zaman birinci planda olmalı. Elektrikli seçenekler için enerji verimliliği ve ısı yönetimi önemli. Aşırı ısınan bir ampul camı çatlatır. Bu da sorun yaratır.
Elektrik kablosu ve fiş gerekliyse bağlantıyı güvenli yapın. Kabloyu camın içine veya dışına nasıl yerleştireceğinizi önceden planlayın. Güvenli bağlantı yoksa elektrik kaçağı riski vardır.
Delme işlemi için matkap veya özel delme aleti şart. Cam delmek zordur. Dikkatli çalışmazsanız cam kırılır. İşçilikte acele etmeyin.
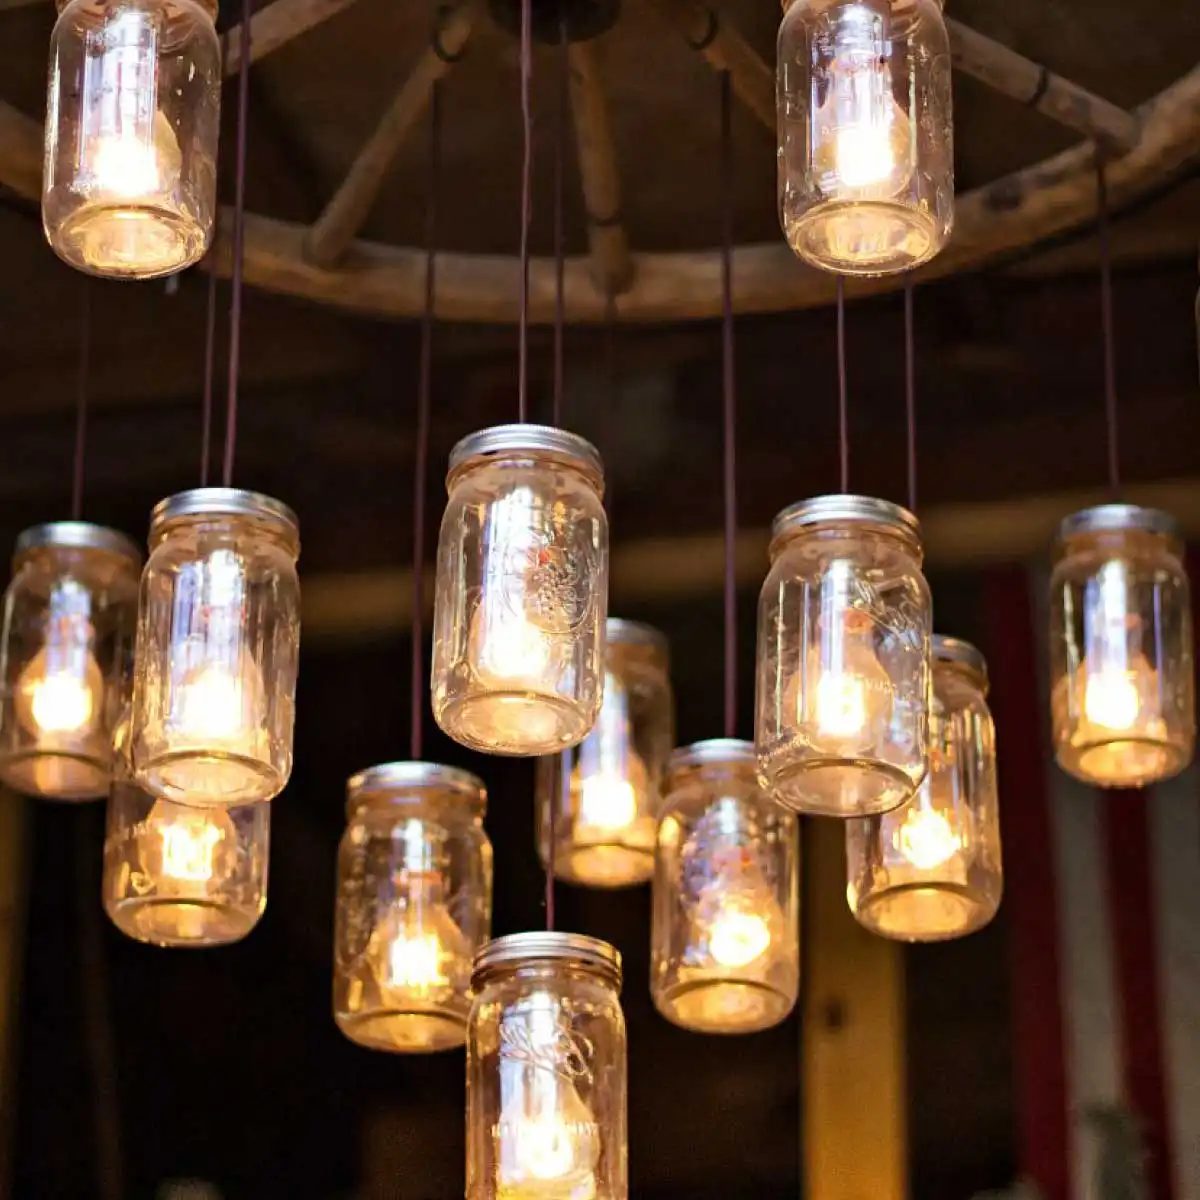
Geleneksel ev dekorasyonundan sıkıldıysanız veya bütçenizi zorlamadan mekana karakter kazandırmak istiyorsanız, cam şişe ve kavanozdan aydınlatma yapma fikri tam size göre. Bu sadece hobi değil, evinizi görsel açıdan etkileyici bir şekilde tasarlamanın harika bir yolu. Sıradan, atıl konumundaki cam kapları büyülü birer ışık kaynağına dönüştürmek, hem yaratıcılığınızı hem de çevreci tarafınızı tatmin edecek. Hazırsanız, başlayalım.
Gerekli Malzemeleri Hazırlayın
Her başarılı ev yenileme projesi gibi, burada da doğru materyallerle başlamak işi yarıyor. İhtiyaç duyacağınız temel malzemeler oldukça basit. Temel olarak cam şişeler veya kavanozlar, bir ışık kaynağı olan LED şeritler veya dize ışıkları, gerekli kablolama ekipmanları ve yapıştırıcı/bantlar lazım. Eğer projenize ekstra bir dokunuş katmak isterseniz, dekoratif taşlar, yapay çiçekler veya özel şeritler de sepetinize ekleyebilirsiniz. Listeyi kendi zevkinize göre şekillendirin; plastik mi yoksa doğal malzeme mi, bu tamamen size kalmış.
Camı Temizleyin ve Hazırlayın
Seçtiğiniz şişe veya kavanozun içini dışını yıkamaktan geçin. Eski etiketler ve yapışkan kalıntıları temizlemek için sıcak su ve sabun en etkili çözümdür. Bazen etiket yapıştırıcısı o kadar inatçı olabilir ki, bu aşamada biraz sabır gerekir. İyice kuruduktan sonra, eğer camın rengini değiştirmek veya üzerine desenler çizmek isterseniz, boya veya dekoratif işlemeler yapabilirsiniz. Bu adım, ışığın nasıl yayılacağını doğrudan etkileyeceği için dikkatle yapılmalı.
Işık Kaynağını Yerleştirin
Aydınlatma parçasının kalbi, seçtiğiniz ışık kaynağıdır. LED şeritler ve dize ışıkları, camın içine sığması ve enerji verimliliği nedeniyle en popüler seçeneklerdir. Şeritleri veya ışıkları şişenin içine yerleştirirken kablo düzenlemesine dikkat etmelisiniz. Kıvırmış veya sıkışmış kablolar hem estetiği bozar hem de güvenlik riski oluşturabilir. Bağlantıları güvenli yapın ve pil yuvasını veya prize takılan kısmı gizlemek için düşünün.
Şişeyi Süsleyin
Artık ışık hazır, sıra kişiselleştirmeye geldi. Dekoratif taşlar, yapay çiçekler, şeritler, danteller gibi unsurlarla şişenin veya kavanozun dışını kaplayabilirsiniz. Renkleri ve dokuları evinizin mevcut tarzına uyacak şekilde birleştirin. Yaratıcılığınızı konuşturun. Örneğin, rustik bir görünüm için jüt ipi kullanabilirken, daha modern bir hava için mat siyah boya tercih edebilirsiniz.
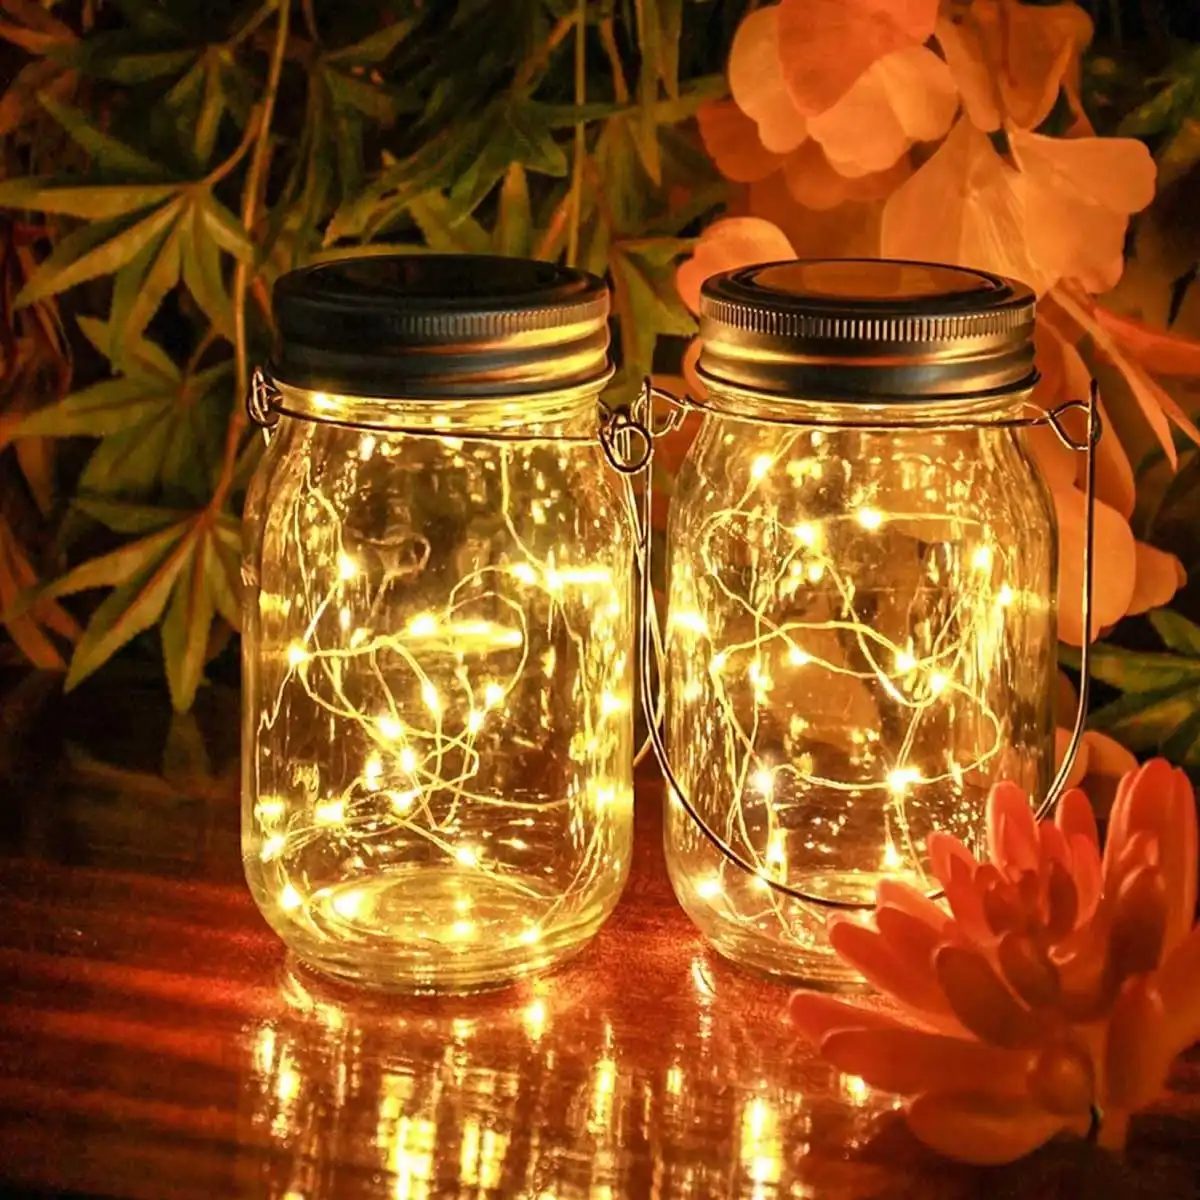
Picking the right vessel is the difference between a craft project that looks like trash and one that looks like custom lighting. It starts with what you’re holding in your hands. Not all glass is created equal. You have to consider the shape, the material thickness, and the specific role the bottle will play in your home’s decor.
Matching Size and Shape to Your Fixture
Don’t just grab whatever is in your recycling bin. Think about the final installation. Are you building a chandelier? You need larger, heavier glass. Small jam jars won’t hold their own against a wide ceiling mount. They’ll look dainty, maybe even fragile.
For a bedside table lamp, compact is better. A small mason jar or a slim wine bottle fits the scale of a nightstand. It keeps the light source contained and intimate. If you’re hanging a pendant light, the bottle becomes the shade. It needs enough volume to diffuse the bulb properly. Check the space you have. Measure the footprint. A bulky whiskey decanter might overwhelm a small reading nook.
Clear vs. Colored Glass: Controlling the Light
The type of glass changes the mood entirely. Clear glass is honest. It lets the bulb shine through without alteration. You see the filament. You see the heat. It’s industrial. It’s clean.
Colored glass tells a different story. Amber bottles cast a warm, golden glow. Green glass feels vintage, almost apothecary. Blue or teal adds a cool, oceanic vibe. If you want that rustic farmhouse look, hunt for old wine bottles with labels still stuck to the glass. The texture adds depth. The color softens the light.
“Choose clear glass for maximum brightness and colored glass for ambiance and style.”
Don’t ignore the thickness of the glass. Thick glass can handle more heat but might dim the light significantly. Thin glass lets more light out but can crack under high-wattage bulbs. Stick to LED bulbs. They run cool. They solve the heat problem entirely.
The Importance of the Opening and Lid
The neck of the bottle matters more than you think. It dictates how you install the light source. A wide-mouth mason jar is easy. You can fit a standard lamp kit right in. You can even place a small LED candle inside for a floating effect.
Narrow necks are trickier. You’ll need a specific adapter or a thin bulb string. Threaded lips on mason jars allow you to screw in a standard lamp socket base. This is a huge plus for stability. It keeps the fixture secure. If you’re using a clip-on LED puck light, the opening width determines if it fits snugly or rattles around. Test the fit before you glue anything.
Aligning with Your Home’s Decor
Your lighting needs to talk to the rest of the room. Industrial loft? Go for mismatched beer bottles with raw, unfinished edges. Boho chic? Try painted jars with macramé wraps. Classic dining room? Stick to elegant, uniform decanters.
Consider the surrounding materials. Glass looks great against wood, metal, and woven textiles. If your shelves are dark walnut, a clear bottle might get lost. A frosted or tinted jar will pop. Think about the theme before you start collecting. It saves you from buying
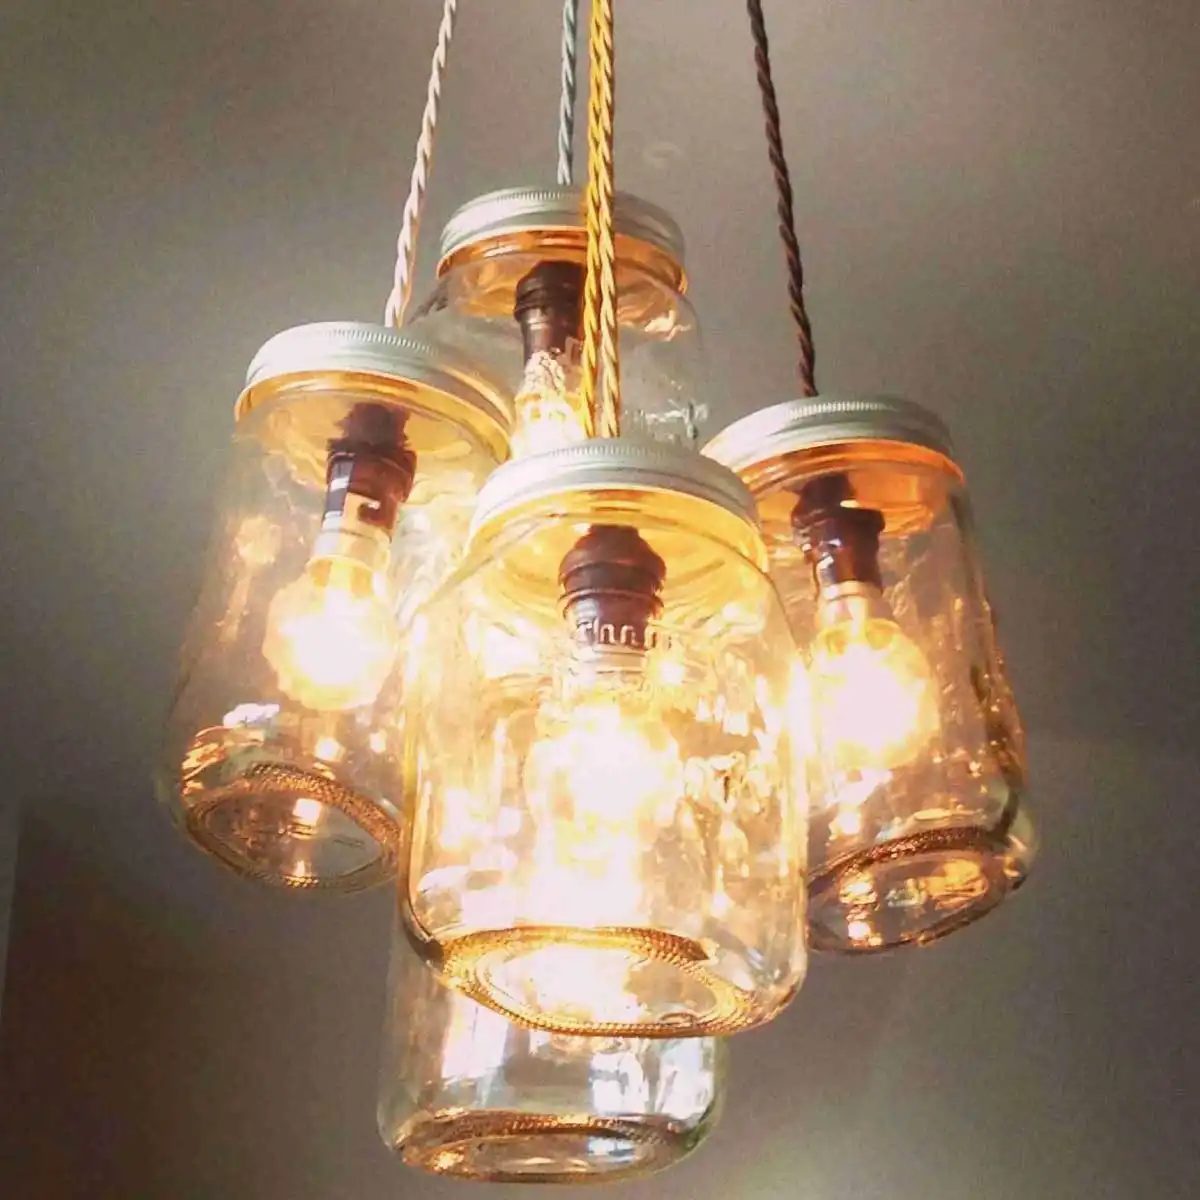
Transforming Glass Into Ambiance
There is a specific kind of magic in taking something disposable—like an empty wine bottle or a jam jar—and turning it into a permanent light source. It’s not just recycling. It’s repurposing with intention. You can steer this toward a rugged, industrial look or keep it sleek and modern. The medium is cheap; the result is expensive-looking design.
Here is how you can actually pull these off without breaking the bank or your safety gear.
Bottle Candle Holders: The Low-Effort Win
Start simple. You need old wine bottles. The longer and thinner, the better. They catch the flame in a way that feels intimate.
Insert a taper candle. Light it. Watch the shadows dance.
This isn’t for ambient background noise. It’s for creating a romantic, warm glow that feels earned. Use clear glass for a classic look, or leave the tint for that rustic, cellar-vibe atmosphere. It’s instant decor. Zero wiring required. Just glass and wax.
Mason Jar Lanterns: Layering Light
Large glass jars change the game. They act as diffusers.
You aren’t just putting a bulb inside. You are building a scene. Thread LED strip lights or fairy lights around the interior rim. If you want it softer, wrap the LEDs in a thin layer of tissue paper first to prevent hot spots.
Add weight and texture. Fill the bottom with decorative stones or faux greenery. This stops the lights from shifting and adds visual interest from below. These work beautifully as nightlights. The light bleeds through the glass and the fillers, creating a soft, hazy halo. Perfect for a bedside table or a hallway corner where harsh overhead lighting feels wrong.
Hanging Bottle Chandeliers
This is where you get the wow factor.
You need sturdy pendant fixtures or heavy-duty hooks. Thread the neck of a clear glass bottle through. Secure it with a tight cap or a specialized glass mount.
Inside, run LED string lights. Make sure the battery pack or plug is hidden inside the bottle or concealed behind the mount. When you flip the switch, the entire glass body glows. It looks like a suspended snow globe.
For outdoor use, this is risky unless you use waterproof-rated LEDs. If you hang these on a porch, they turn a dark yard into a gallery. Use colored bottles for a festive look, or clear ones for a clean, modern aesthetic.
Weather-Proofing for Outdoor Projects
If you are taking these outside, you cannot ignore the elements.
Rain is the enemy of electronics. You must seal any electrical connections. Use waterproof tape. Better yet, buy battery-operated LEDs with IP65 ratings or higher. This ensures the water doesn’t short-circuit the light source while it’s hanging in the rain.
Hanging them from tree branches or pergolas adds depth to your garden. It turns a dark patch of grass into a usable, inviting space.
Sourcing and Safety: What Works Best
You don’t need to buy new glass. Thrift stores are gold mines for wine bottles. Look for varieties with interesting shapes or thick glass. Thick glass handles heat better if you are using candles, though LEDs are always the safer bet for longevity.
For jars, Mason jars are the standard for a reason. They are durable. They have wide mouths, which makes installing lights easier. Small jars work for clusters. Large ones work for statement pieces.
Choosing the Right Light Source
Do not use incandescent bulbs in enclosed glass. They get hot. They can crack the glass. They are a fire hazard.
Stick to LEDs.
They stay cool. They last for years. They come in various color temperatures. Warm white (2700K) is best for home ambiance. Cool white is too clinical for a cozy jar lamp.
If you are hiding the batteries, make sure the light source is dimmable. You want to adjust the mood, not just turn it on or off.
Adding Texture and Personal Touch
Plain glass is boring after a while. Break it up.
Wrap the outside of the jar with jute rope for a nautical feel. Paint the inside with translucent paint for a stained-glass effect. Glue on rhinestones for a touch of glam. The key is to match the decor of the room. A rustic farmhouse needs twine and stones. A modern apartment needs clean lines and maybe just a single strip of white light.
Hanging and Placement Logic
Gravity matters.
If you are hanging a bottle, ensure the hook is screwed into a stud or a solid beam. Drywall anchors might fail under the weight of glass and metal fittings.
For table lamps, check the base. If the jar is narrow, it might tip. Add weight to the bottom. More stones. A sand base. Stability is non-negotiable when dealing with breakable containers and electricity.
What happens when the bulb burns out? With LEDs, you won’t be changing them for years. But when you do, or when you want to swap the mood from warm to cool, having accessible batteries or plugs is a minor detail that saves a major headache later.
The beauty of this is that it’s unfinished until you touch it.


