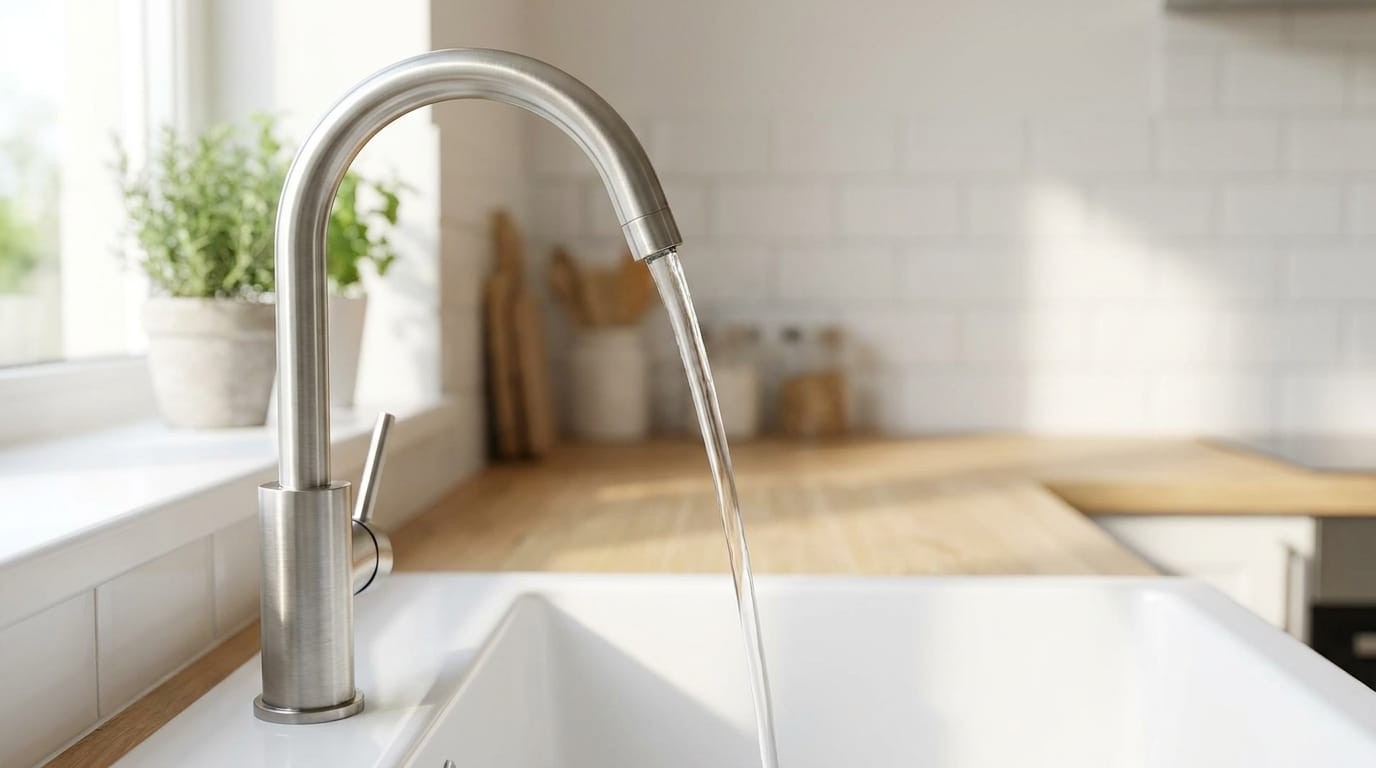
Your sink is a mess. Water sprays onto the countertop every time you open the tap, or the pressure dies down to a pathetic drip within a few weeks. It’s annoying. The natural reaction? Buy a new mixer. Throw the old one in the bin. Call a plumber.
Stop. That’s usually a waste of money.
Most of these hydraulic failures aren’t mechanical breakages. They’re blockages. Tiny, invisible particles have accumulated in the water path, choking the flow. You don’t need a new appliance. You need a targeted cleaning intervention. And right now, in spring, it’s the perfect time to tackle this before the summer heat hits.
Here’s how to restore that original power and smooth flow with basic household items. No fancy tools required.
Why buying a new mixer is often a costly mistake
Replacing tapware is expensive. A decent chrome-finished mixer costs a chunk of cash. Add professional installation fees, and the bill balloons. But here’s the truth: the core mechanics of your current tap are likely fine. The problem isn’t the valve. It’s the buildup.
Hard water deposits clog the internal passages. Before you spend hundreds on shiny new hardware, check the blockage first. A methodical approach saves your money and keeps viable equipment in service.
The basic tools you need for this DIY tap repair
You don’t need a professional toolkit. Check your junk drawer. You probably have everything already.
Grab these items:
- A large multi-grip pliers
- A thick cotton cloth
- An old, hard-bristle toothbrush
- 50 cl of pure white vinegar
- A glass bowl or small plastic container
That’s it. No electronic gadgets. No expensive specific keys. This setup prevents damage to the delicate chrome finish while you work.
How to remove the aerator without scratching the metal
The first culprit is the small cylindrical nozzle at the tip of the spout. Technically called the aerator or mousseur. Its job is to mix air into the water stream. This reduces consumption while maintaining the feel of the flow.
To remove it, you have to be careful. The chrome coating is thin. Scratch it, and you’ve ruined the look.
- Wrap the nozzle generously with the thick cotton cloth.
- Clamp the cloth-wrapped nozzle with your multi-grip pliers.
- Turn it left, slowly. Break the initial resistance.
- Unscrew the rest by hand.
Pull it out. Look inside. You’ll see a pile of tiny grey gravel and hardened deposits on the walls. That’s your problem.
How to access the hidden filters on the water supply lines
If cleaning the aerator didn’t fix the low pressure, the blockage is deeper. The real enemies are hiding under the sink.
Your mixer is fed by two braided flexible hoses. These connect directly to the supply lines under the basin.
Safety first: Turn off the main shutoff valves for your home. You must purge the pressure before touching anything. Do not skip this step.
Once the pressure is gone:
- Unscrew the connections at the base of the hoses.
- This exposes small protective grilles at the entry points of the pipes.
- These grilles filter out large sediment from the public distribution network.
When these grilles are clogged, the entire system chokes. Clean them out with the toothbrush and vinegar. The flow should return to normal.
Soaking the Parts: Why White Vinegar Works on Scale
You’ve disassembled the mixer tap. You’ve got the aerator, the inlet filters, and whatever else fell out sitting in a bowl. Now, fill that bowl with white vinegar until every single component is completely submerged.
This isn’t a trick. It’s chemistry. Acetic acid attacks the calcium carbonate structure of limescale, breaking down the bonds holding that hard, crusty deposit together. Let it sit. At least thirty minutes. Forty is better.
Watch the surface. If you see tiny bubbles forming on the metal, don’t worry. That’s the acid doing its job. It means the mineral block is starting to disintegrate. The longer you wait, the weaker the scale gets. Once it’s soft, it’s no longer glued to the part. It’s just debris waiting to be flushed away.
Scrubbing It Off: Restoring Flow and Pressure
Once the soak is done, the scale is weak. It won’t hold on for long. Grab an old toothbrush. Yes, the one with the bristles worn down. It’s perfect for getting into the tight mesh of the aerator and the narrow channels of the filter basket.
Run a thin stream of cold water over the parts. Scrub. Be firm. You’re not trying to polish them; you’re trying to dislodge the residue. As you work, you’ll see the mesh open up. The previously clogged holes become visible again. The water passes through freely. This step restores the pressure that was being choked off by the buildup.
Reassembly: Avoiding the Leaks That Kill DIY Projects
This is where most people fail. They rush. They force parts back in. And then they leak.
Stop. Check the rubber O-rings. Look at them. Are they cracked? Hard? Squeezed flat? If they’re damaged, replace them. A few cents for a new gasket saves you hours of water damage and frustration. If the old ones are still pliable and clean, you can reuse them.
Now, put the parts back. Pay attention to the direction. Filters and aerators have a specific orientation. Install them into their respective rings or housings.
Tighten by hand first. Get it snug. Then, if you have a wrench or pliers, give it a tiny final turn. Just enough to seat it. Do not crank it down. Over-torquing strips the internal threads. Once those threads are gone, the part is trash. Hand-tight is usually enough.
The Payoff: Saving Money and Time
Turn the tap back on. Slowly. Watch the stream.
It should be smooth. Dense. Silent. No sideways spray. No sputtering. The water flows exactly as it should.
You just fixed a problem that would have cost you between 100 and 200 euros at a hardware store. You didn’t buy a new mixer. You didn’t call a plumber. You used vinegar, a toothbrush, and ten minutes of attention.
Limescale is the enemy of household plumbing. It builds up silently, choking flow until you think the appliance is dead. But it’s rarely dead. It’s just clogged.
Next time the water pressure drops or the spray gets weird, don’t reach for your wallet. Reach for the vinegar. Give it a shot. You might be surprised how much life is left in your old fixtures.